
How to Lower a Mercedes with AIRMATIC Air Suspension
Three ways to lower a Mercedes with AIRMATIC without new springs: lowering links, diagnostic software and an OBD-II module, and what each one changes.
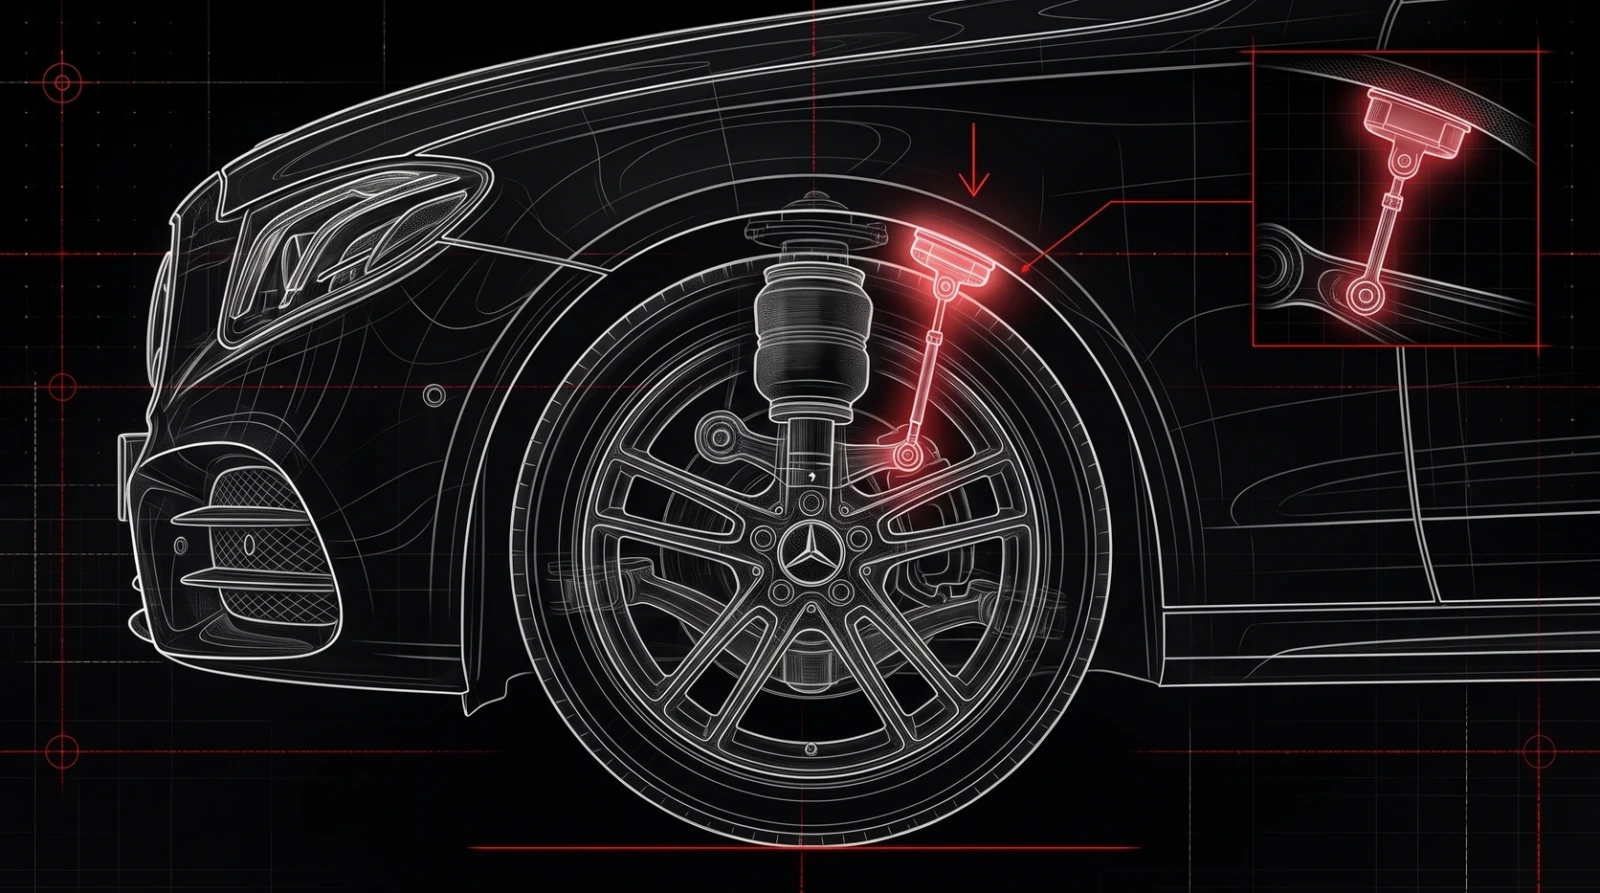
Table of contents
- What your Mercedes can already do from the factory
- Where the ride height is set
- Lowering links
- Installing lowering links
- Where links fall short
- Lowering through dealer-level diagnostic software
- Lowering with an electronic module through the OBD-II port
- What keeps working after lowering
- How low to go and what to check afterwards
- Conclusion
A Mercedes with AIRMATIC does not need new springs to sit lower. The car rides on air springs, and a control unit keeps the body at a target height that it checks all the time. To lower the car, you change that target or what the control unit believes the current height is. The hardware stays the same, and the car keeps leveling itself as before.
There are three ways to do it: adjustable lowering links on the height sensors, new level values written by a workshop with diagnostic software, or an electronic module plugged into the diagnostic port. This guide explains how each one works, what it takes to install, what it changes in daily driving and what to check after the car is lower. If you want a refresher on the system itself first, see our AIRMATIC glossary entry.
What your Mercedes can already do from the factory
Every AIRMATIC car already changes its height on its own. Depending on the model, the driver selects a level with the suspension button on the center console, in the Vehicle menu on cars with MBUX, or indirectly through the DYNAMIC SELECT drive programs. Sport usually puts the car on its low level, Comfort on the normal one, and a raised level gives extra clearance for steep driveways and rough roads.
The car also lowers itself at speed to improve stability and reduce drag. On the S-Class W222, for example, the owner's manual describes it like this: in Sport the car drops further above about 75 mph (120 km/h), in Comfort above about 78 mph (125 km/h), and it rises again when the speed falls below about 50 mph (80 km/h). Other models use similar logic with their own thresholds.
What the factory settings cannot do is go below the lowest level Mercedes programmed. There is no hidden menu or button combination that drops a parked car for good, so if you are looking for a way to lower the air suspension without the button, you need one of the three methods below. One more point before you start: not every Mercedes has AIRMATIC. Many models come with steel springs as standard, including factory comfort and sport suspensions with a lower ride height, and those cannot be lowered this way.
Where the ride height is set
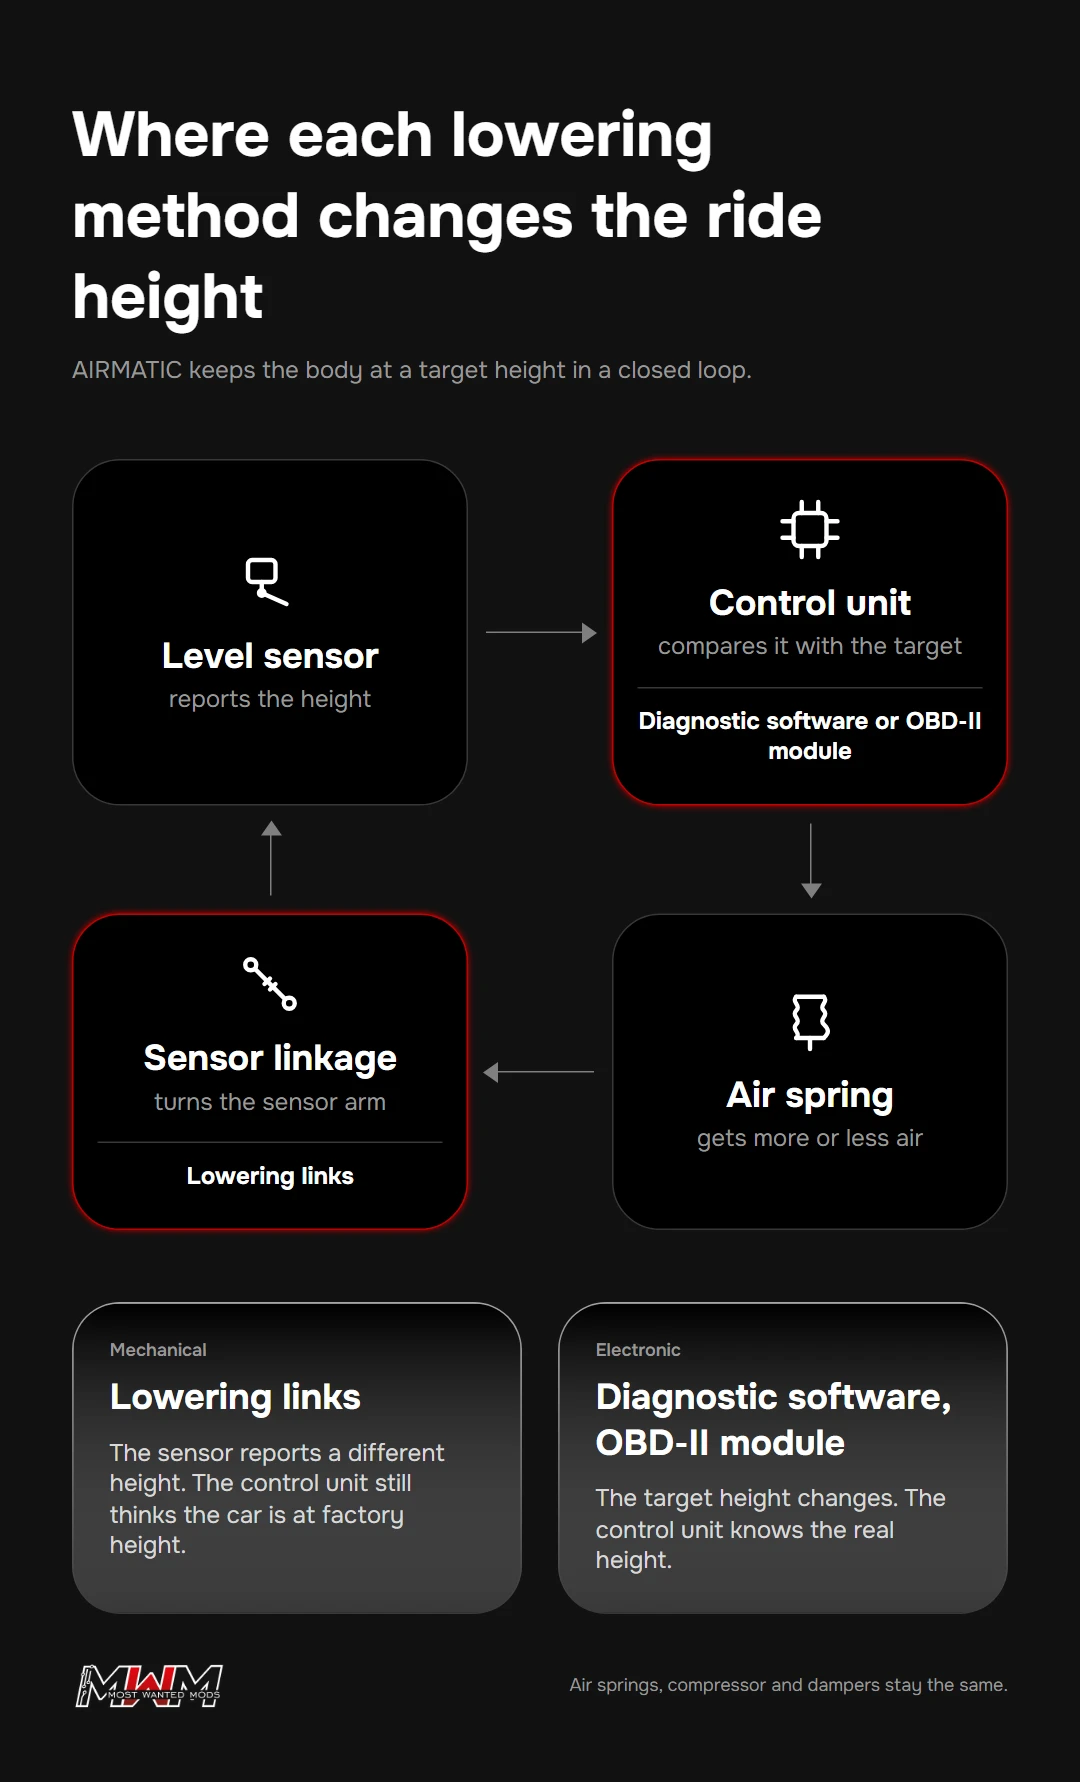
AIRMATIC uses level sensors on the front and rear axles. Each sensor sits on the body and is connected to a suspension arm by a short linkage. When the wheel moves up or down, the linkage turns the sensor arm, and the sensor reports the position to the suspension control unit. The control unit compares this value with the target level for the current mode and speed, then adds or releases air until the two match.
This loop gives two places where the height can be changed. You can change what the sensor reports, which is what lowering links do mechanically. Or you can change the target the control unit works toward, which is what diagnostic software and an electronic module do. The air springs, compressor and dampers stay untouched in all three cases.
Lowering links
Lowering links replace the factory sensor linkages with adjustable ones. When a link is set to a different length, the sensor arm sits at a different angle, and the sensor reports a higher position than the body really has. The control unit releases air to correct what it sees as a car that is too high, and the body settles lower.
From the control unit's point of view, nothing has changed: it still thinks the car is at the factory height. All modes keep working, but from the new, lower base. The difference between links and an electronic module is explained in more detail on our page AIRMATIC Lowering Links vs Lowering Module.
Installing lowering links
Fitting a set takes an experienced installer about one to two hours. The front links are usually easy to reach, while the rear link is often the hardest part of the job. The general order is the same on most cars:
- Measure the ride height at all four wheels before you start, in the normal suspension mode and on level ground.
- Follow the procedure for your model to lift the car without AIRMATIC trying to correct the height while it is on the jack.
- Remove the factory links while holding the sensor arm. The arm is often plastic, so never use it as a lever.
- Set the new links to the starting length from the kit instructions and fit them with all retaining clips.
- Adjust the left and right side of each axle by the same amount, in small steps.
- Lower the car, let the suspension finish leveling, take a short drive and measure again.
Instructions for your exact chassis come first. On some cars a longer link lowers the axle, on others a shorter one, and the front and rear can work in opposite directions on the same car.
Where links fall short
Links are adjusted by turning a threaded section, and each turn changes the height by several millimeters. Even when all links are set the same, the corners often do not sit evenly, so most owners need a few rounds of adjusting and measuring. Set them too low and the control unit may show a suspension warning, because the sensor values leave the range it expects.
The links also live under the car, exposed to water, dirt and road salt. A seized or broken link is more than a cosmetic problem: the control unit no longer knows the real height of that corner and can keep adding or releasing air. Every later change, including going back to the factory height, means working under the car again. Homemade versions with washers or bent brackets are cheaper still, but we do not recommend them for a car you drive every day.
Lowering through dealer-level diagnostic software
The second method changes the height in the control unit itself. A technician with XENTRY, the Mercedes-Benz diagnostic software, changes the stored level values, and the control unit then works toward the new target. Because the control unit knows the real height, nothing is tricked: all levels, including the raised one, move down by the amount that was set, and the values can be set precisely for the front and rear axle.
The catch is access. Many dealers do not offer lowering as a service, so you need a specialist workshop that has the equipment and has done it on your model before. Ask them to record the factory values before any change. Going back to the factory height, or trying a different height, means another visit. Our guide to Mercedes coding explains how this kind of work is done and why some changes need an online connection to Mercedes servers.
Lowering with an electronic module through the OBD-II port
An electronic lowering module also changes the height setting in the control unit, but without a workshop. The module plugs into the OBD-II port under the dashboard, and the settings are made on the car's own screen. After the new value is saved, AIRMATIC moves to the new height in about 30 seconds. The module is then unplugged and kept in the glovebox or at home, so nothing stays connected to the car.
The module stores the factory height on first connection, so the car can always be returned to it. How the settings are made depends on the generation of the car's head unit and instrument cluster, which is why MWMods offers three versions:
- COMAND cars, 2006-2020 ($550): a menu on the COMAND screen with Factory, Low (32 mm lower front and rear) and Custom, where front and rear are set separately in 1 mm steps, from 70 mm lower to 40 mm higher.
- MBUX cars, 2019-2023 ($650): the height is set through the instrument cluster in 10 mm steps, up to 60 mm lower, front and rear separately.
- MBUX cars, 2021-2026 ($900): two stored settings, Factory and Low, with the low setting chosen from 10 to 70 mm in 10 mm steps.
Before choosing any of the three methods, make sure your car actually has AIRMATIC. A suspension level button on the center console or a ride height setting in the Vehicle menu is a good sign, and the window sticker or the original equipment list names the air suspension if it was ordered. On models where air suspension was an option, two cars with the same name can be built differently, so the equipment decoded from the VIN is the most reliable check.
The version is matched to your car by its chassis code and engine, and the VIN is checked before the order is confirmed. The full list of supported models is in the Suspension Lowering Modules category.
What keeps working after lowering
All three methods keep the air suspension working, but not in the same way. The main difference is whether the control unit knows that the car is lower. That decides how the car behaves day to day and how easy it is to change your mind later:
| AIRMATIC function | Lowering links | Diagnostic software | OBD-II module |
|---|---|---|---|
| Self-leveling with passengers and luggage | Works, around the new height | Works, around the new height | Works, around the new height |
| Suspension levels and drive programs | Work, all shifted lower | Work, all shifted lower | Work, from the new setting |
| What the control unit takes as the real height | The factory height, because the sensors are offset | The real height | The real height |
| Separate front and rear height | Yes, by adjusting each link | Yes, set by the technician | Yes, on most versions |
| Trying a different height | Work under the car and measure again | Another workshop visit | Plug in the module, about 30 seconds |
| Back to factory height | Refit the original links or readjust | Another workshop visit | Select Factory on the module |
If you set the height once and never touch it again, links and software both do the job. If you expect to change it, for a winter with bad roads, a long trip with a full trunk or before selling the car, a method that changes the height from the driver's seat saves the most time.
How low to go and what to check afterwards
Measure before and after in the same way: from the center of the wheel hub straight up to the edge of the wheel arch, on level ground, in the same suspension mode and with normal tire pressures. Measuring to the top of the tire is less accurate, because tire size and pressure change the result. Start with a moderate drop and go lower in small steps. A ride that feels unchanged at a modest drop can become noticeably firmer once the air springs have little travel left.
Remember that the car may still lower itself at speed, so check whether the highway drop now comes on top of your new height. Turn the steering to full lock in both directions and check the clearance between the tires and the wheel arch liners, ideally with passengers or luggage on board as well. Larger wheels make this check even more important.
Once the final height is set, have the wheel alignment checked. Lowering changes the camber and toe, especially at the front, and the lower the car goes, the more it affects tire wear. For steep driveways, speed bumps and parking garage ramps, keep using the raised level: it still works after lowering, just from a lower starting point.
Conclusion
An AIRMATIC Mercedes can be lowered without new springs in three ways. Lowering links are the cheapest and suit owners who set the height once, but they offset the sensors, need work under the car for every change and sit exposed to the weather. Diagnostic software sets the height precisely in the control unit, but every change means a visit to a workshop that does this work.
An OBD-II module changes the same setting from the driver's seat in about 30 seconds and keeps the factory height for a later return. To find the version for your car, open the Suspension Lowering Modules category or send your VIN to MWMods support.