ECU Tune Stage 1
by MWMods
Plug-and-play performance software for Mercedes-Benz and Mercedes-AMG, uploaded through the OBD-II port with a hand-held module.
- Plug the module into the OBD-II port. Programming usually takes 1–3 minutes.
- Stronger acceleration and sharper throttle response. Software changes only, no physical modifications.
- Your stock file is stored on the module. Switch back to factory any time.
Why choose ECU Tune Stage 1

Dyno-validated
Developed and verified with multiple dyno runs and data logs.

Core Calibrations
Air/fuel ratio, ignition timing, throttle mapping, and — for turbo cars — boost control, all optimised in one pass.

Easy OBD Install
We ship a handheld OBD device. Plug in, follow the steps. Programming takes roughly 1–3 minutes — no workshop needed.

Price from $600

Safe By Design
Factory safety parameters remain intact. Tuned for longevity, reliability and daily use above everything else.

Hardware-Friendly
Generally supports performance air filters, aftermarket intakes and cat-back exhausts without additional recalibration.

Unlimited Rollback
A full backup of your stock file is kept on the module. Return to factory firmware any time, as many times as you want.
Find the module that fits your Mercedes
Search by chassis, model and year gives a preliminary match. MWMods confirms the exact engine and module version by VIN.
Choose your level of performance
| StockFactory configuration | Stage 1Software upgrade | Stage 2Advanced setup | |
|---|---|---|---|
| Power | Factory | Increased | Setup-dependent |
| Hardware | Factory | No changes required | Supporting upgrades |
| Throttle response | Factory | Optimized | Advanced calibration |
| Intended use | Standard | Daily driving* | Motorsport |
| Calibration | OEM | MWMods | MWMods |
*Subject to local regulations and vehicle compatibility.
About ECU Tune Stage 1
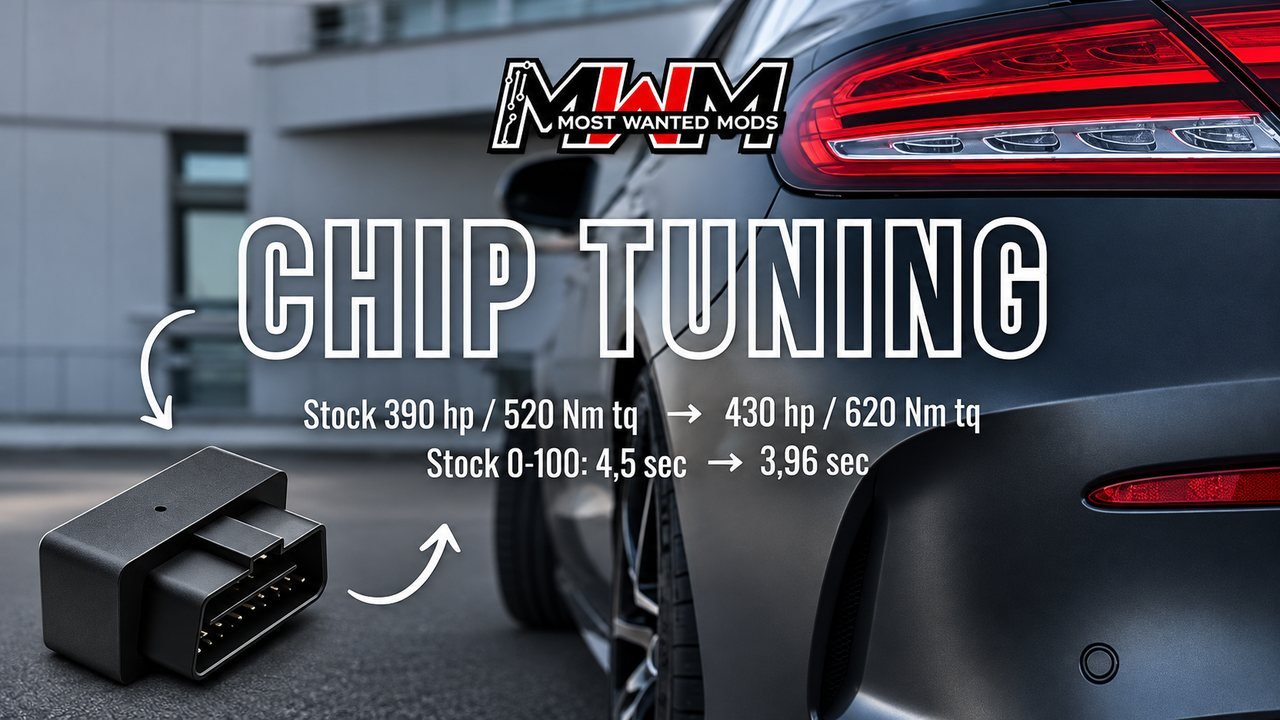
Mercedes ECU Tune Stage 1 by MWMods is a plug-and-play performance software upgrade for compatible Mercedes-Benz and Mercedes-AMG vehicles. The Stage 1 file is uploaded through a hand-held OBD-II module — no ECU removal, no sending control units away and no special workshop tools. It is made for drivers who want stronger acceleration, sharper throttle response and more enjoyable everyday performance, with the stock firmware file kept available when needed.
How it works
How the plug-and-play OBD-II ECU tune module works
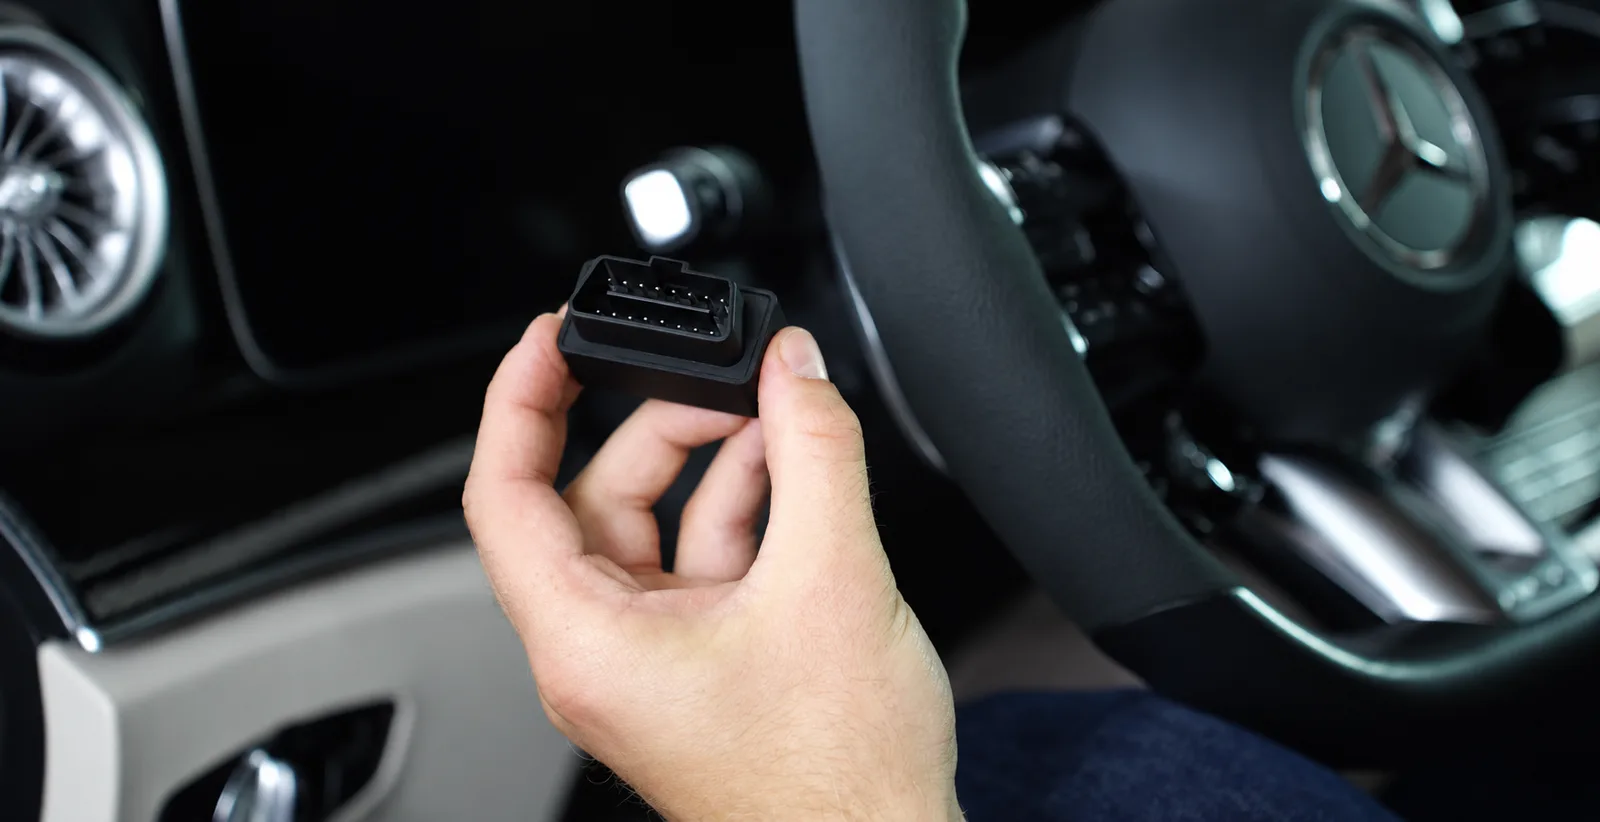
The module plugs into the diagnostic port and uploads the Stage 1 file to the engine control unit. It stores both the MWMods Stage 1 file and your stock firmware file, so you can switch between performance and factory settings when required. Programming does not require ECU removal, special tools or physical changes to the vehicle.
Mercedes Stage 1 ECU tune for more performance
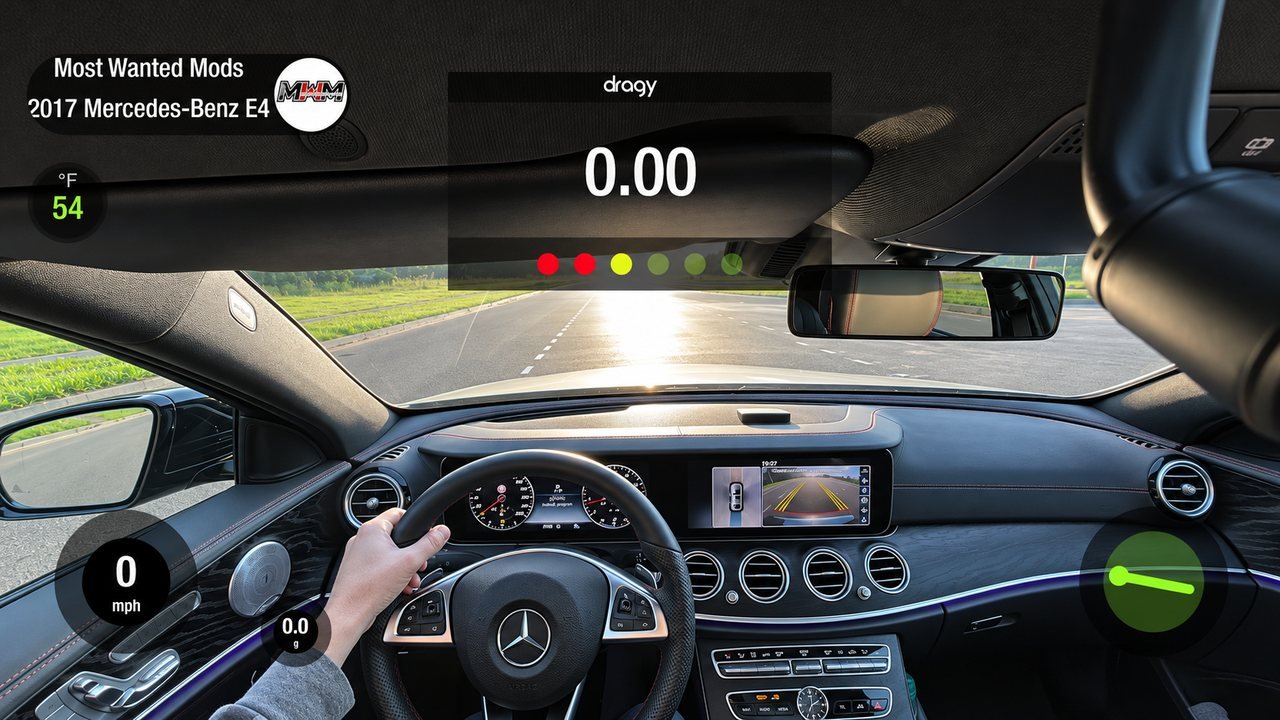
Depending on the vehicle and engine, the calibration adjusts air/fuel ratio, ignition timing, throttle mapping and, on turbocharged models, boost pressure. The software is developed on the dyno and verified with multiple runs and logs, with everyday drivability and engine protection taken into account. Maintenance of the tuned car stays the same as for the stock car.
| Installation | Hand-held module, plugged into the OBD-II diagnostic port |
|---|---|
| Programming time | Usually 1–3 minutes |
| Files on the module | MWMods Stage 1 file and your vehicle’s stock firmware file |
| Switching | Unlimited switching between Stage 1 and stock |
| What is adjusted | Air/fuel ratio, ignition timing, throttle mapping and, on turbocharged engines, boost pressure |
| Changes to the car | Software only, no physical modifications |
| Development | Developed on the dyno and verified with multiple runs and logs |
| Price | From $600 |
Power gains depend on the specific model and engine. Send us your VIN before ordering and we will confirm the right Stage 1 file for your car.
How to install ECU Tune Stage 1
-
Make sure the car is warm and stable and the battery is fully charged. Turn off accessories and unplug any SD or USB devices.
- Car warm and stable
- Battery fully charged
- Accessories off
- SD cards and USB devices removed
-
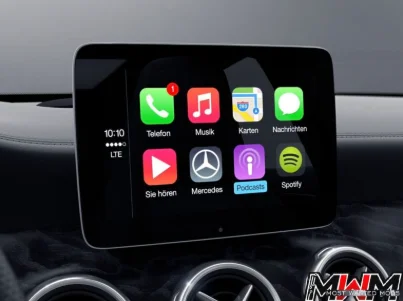
Switch the ignition on to position 2 — all cluster lights on, engine off — and wait at least 60 seconds until the audio head unit has fully booted.
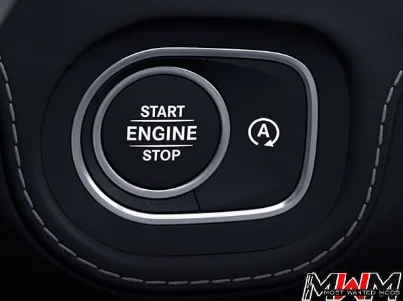
- Turn the key two clicks or press Start/Stop twice
- Check that all cluster lights are on
- Wait about 60 seconds for the head unit
- Don’t change settings or press buttons while programming
-
Plug the module into the OBD-II port under the dashboard. Choose Stage 1 or Factory with the head-unit controls and confirm.
- Locate the OBD-II port under the dashboard
- Plug the module in until it is fully seated
- Select Stage 1 with the << and >> buttons or the controller knob
- Confirm with the * button or by pressing the controller down
-
Wait until the progress bar reaches 100%. Switch the ignition off and on again when the screen asks.
- Watch the progress bar on the head unit
- “Switch ignition OFF”: switch it off and wait
- “Switch ignition ON”: switch it on again
-
When the screen says the module can be removed, unplug it. Don’t leave the module in the OBD-II port.
- Wait for “remove the module now”
- Unplug the module
- Use it again only to switch between Stage 1 and stock
Some vehicles need a factory map update first: run Step 1: Update before the first Stage 1 installation, then install Stage 1.
How to return to the stock file
-
Prepare the car exactly as for installation: warm and stable, battery fully charged, accessories off, SD and USB devices removed.
- Car warm and stable
- Battery fully charged
- Accessories off
-
Switch the ignition on to position 2 with the engine off and wait about 60 seconds for the head unit to boot.
- All cluster lights on, engine off
- Wait about 60 seconds
-
Plug the module into the OBD-II port and select the stock (factory) map in the module menu, then confirm.
- Select the stock map with the head-unit controls
- Confirm your selection
-
Wait until the progress bar reaches 100% and switch the ignition off and on when the screen asks.
- Watch the progress bar
- Switch the ignition off and on when asked
-
Unplug the module when prompted. You can switch between Stage 1 and stock as many times as you want.
- Wait for “remove the module now”
- Unplug the module
What MWMods customers say